How to Filter Water for a Camping Trip 5 Ways

Nothing beats getting out into the great outdoors for a fun camping trip under the stars. From cozying up by the campfire to exploring new hiking trails, overnight adventures in nature are always a highlight. However, one aspect of camping that can potentially put a damper on any trip is accessing safe drinking water.
When venturing off the grid to remote natural areas, you likely won’t have treated water sources available. Instead, you’ll need to rely on whatever lakes, streams or other water you encounter in the wilderness. While these sources may look crystal clear, their untreated water can still pose health risks if consumed without purification. Drinking contaminated backcountry water runs the risk of making you feel unwell with stomach bugs like giardia. In some cases, illnesses contracted from wild water sources have even led to hospitalization.
Rather than let potentially unsafe water ruin an exciting camping excursion, the smart option is to take proactive steps. Using a reliable filter or purifier to clean the available water is important for preventing sickness miles from the nearest clinic. Today, I’ll share several tried-and-true methods for treating backcountry water on camping trips. From lightweight filters to multi-use purifiers, these options all help campers stay properly hydrated without risking their health. Let’s dive into some top water treatment techniques!

How to Filter Water for a Camping Trip 5 Ways
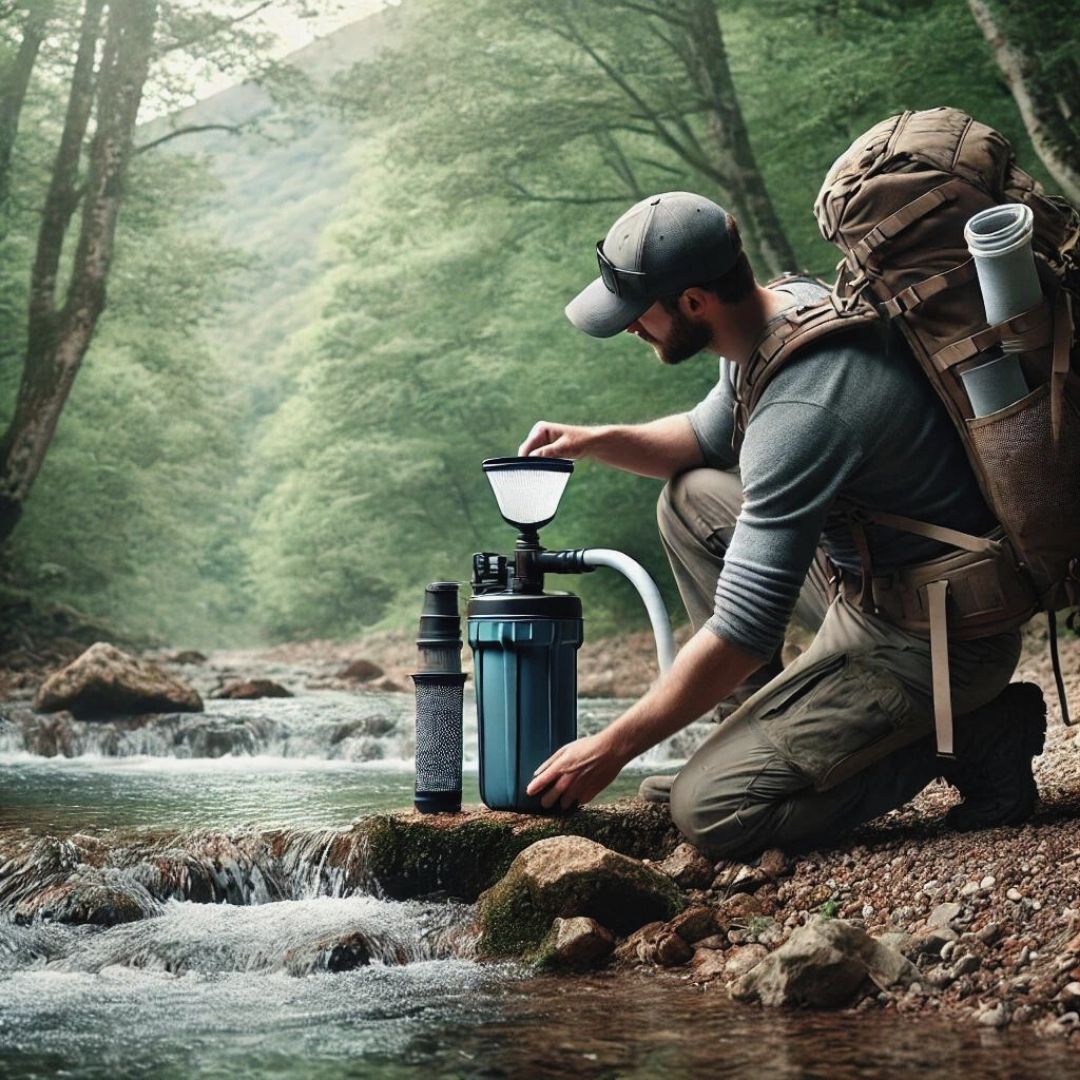
Visiting remote areas without access to treated water means you’ll need to bring your safe source of drinking water. While boiling is a simple method, it requires fuel and can be time-consuming. Water filters provide a more convenient option, allowing you to easily treat water from sources in the backcountry. Here are some popular ways to filter water for your camping trip:
Gravity Water Filters
Gravity-fed water filters are among the best options for camping trips due to their effectiveness and ease of use. Models like the Katadyn Hiker allow you to quickly and easily set up a simple filtration system using nothing more than gravity to power water flow.
Gravity filters work by placing an untreated water reservoir above a clean water storage container. Water naturally flows downward through the filter media thanks to gravity’s pull. This means you don’t need to add any effort beyond the initial setup–just let gravity do the work of filtering water for you.
Gravity filters are also highly portable and don’t require batteries or pumps. Their passive design makes them a top choice for situations where reliable power may not be accessible. Most gravity filter options are also affordable compared to other water treatment methods. For more information on gravity water filters, read up on my post on The Pros and Cons of Gravity Water Filters.
How to Use a Gravity Filter:
Step 1: Collect your water.
Fill the upper reservoir bag by submerging it fully in your untreated water source. Be sure to avoid scooping sediment from the bottom if possible.
Step 2: Hang the reservoir bag.
Attach the bag to the included hanging straps, hanging it from a tree branch or rafter above your clean water storage container. The bag outlet should be positioned higher to allow downward water flow.
Step 3: Initiate the filtration process.
Open the outlet valve to allow the bag’s contents to slowly gravity feed through the attached filter hose and into the clean container below.
Step 4: Secure the filtered water.
Once the reservoir bag is empty, close the valve to preserve your filtered water supply until ready for use. Regularly back-flushing the filter helps extend its lifespan.
With just a little initial setup effort, gravity filters let you simply relax as they work automatically thanks to the power of gravity. Their convenience and effectiveness make them a top choice for outdoor adventures.
Pump Filters
For longer backpacking trips venturing deeper into remote areas, consider packing a lightweight pump filter. Models like the popular LifeStraw Mission allow you to easily treat water directly from the source using a hand-powered pump mechanism.
Pump filters are extremely compact and simple to use, making them a go-to option for purifying water while hiking or camping off-grid. Their portability also means pump filters can easily support water needs at multiple campsites over multiple days.

How to Use a Pump Filter:
Step 1: Collect your water.
Submerge the intake end of the filter fully into your water source, being careful not to suck up sediment from the bottom.
Step 2: Activate the filter process.
Pump the handle with steady, even strokes to draw untreated water into the filter chamber.
Step 3: Disperse the filtered water.
Pump the treated water directly into your water bottle or hydration bladder for convenient storage and access while active outdoors.
Step 4: Meet your water volume needs.
Continue pumping steadily until you’ve filtered as much water as required to support your needs. Sit back and enjoy the crisp, clean results of your filtration efforts!
With no batteries or bulky parts to worry about, pump filters provide the simplest way to reliably purify drinking water while exploring remote wilderness locations deep into multi-day trips.
Filtering Water Bottles
For unsurpassed ease while backpacking, consider a self-filtering water bottle. Models like the Grayl GeoPress include a built-in straw that filters water as you drink directly from the bottle.
Carrying only a single water bottle that does the work of a filter is the epitome of simple and travel-friendly hydration. Just fill up from a water source, then conveniently sip filtered water anytime thirst strikes along the trail.
How to Use a Filtering Water Bottle:
Step 1: Collect your water.
Fill the bottle directly by submerging it in your selected water source. Be sure to avoid stirring up sediment.
Step 2: Prepare for use.
Replace the secure cap and give the bottle a shake to integrate any treatment additives.
Step 3: Drink when needed.
Take a drink by removing the cap and placing your mouth around the attached straw to draw freshly filtered water.
The ingenious self-filtering bottle design means each sip has already been through the purification process. It’s truly the most pragmatic way to stay hydrated while mobile in the wilderness.

Purification Tablets
While tablets don’t physically remove particles like filters, popular brands like Aquatabs and Potable Aqua offer a simple chemical approach to water treatment. Containing active ingredients like iodine or chlorine dioxide, tablets kill bacteria, viruses and protozoa that can cause illness.
Tablets are an ideal lightweight backup to bring in case your primary filter runs into issues. Their compact size also means they’d hardly use any valuable pack space. Just be aware that some may mildly alter the water’s taste or not be suitable for continuous long-term use.
How to Use Water Purification Tablets:
Step 1: Add the tablets.
Carefully pour in the recommended number of tablets into your water container.
Step 2: Begin the treatment.
Seal the lid securely and give the container an invigorating shake to help tablets fully disperse.
Step 3: Observe the contact time.
Allow the necessary waiting period (often 30 minutes or more) before consumption as indicated.
With no moving parts to malfunction, tablets provide simple peace of mind to have on hand if your regular filter quits without warning. Just the thing needed for unforeseen problems in remote locales away from replacement options.
Distillation
For missions venturing beyond typical backcountry locales, the gold standard for water treatment is distillation. Distillation works by boiling water to vaporize all contents, allowing pure steam to rise while leaving behind all contaminants. The steam then condenses within a separate chamber, collected as pristinely pure water.
While distillers require fuel, their unrivaled ability to remove bacteria, heavy metals, salts and more provides the safest option for remote travel. Pair one with a portable desalination kit for total independence from any water source.

How to Distill Your Water:
Step 1: Fill the boiling chamber.
Pour untreated water into the lower boiling basin.
Step 2: Initiate the distillation process.
Turn on included fuel cells to heat the water and generate steam within a closed system.
Step 3: Capture the purified steam.
Vapor rises upward, condensing within an insulated collection chamber.
Step 4: Collect your sterilized water.
Harvest the distilled droplets that have safely accumulated, free from all contaminants.
Distillation remains the gold standard of self-sufficiency. Check out my review of the Best Rated Water Distiller to know how effective water distillers can be.
The right filtration methods make it easy to get clean water while camping.
No matter your trip plans, always have a method handy for filtering water. Whether by filter, tablet or portable distiller, treating strange water sources is critical for health. Be sure to practice purification techniques before your trip so they become second nature when needed most. With one of these filtration options in your pack, you’ll stay hydrated for your entire camping adventure!
For more information on water filtration and other related topics, stay tuned to my blog. I’m always here to provide recommendations, reviews, and health information around water. If you found this particular post helpful, you might want to check out my posts on Best Portable Water Filters and Best Type of Water for Health!
Stay hydrated,
Shashank Varma (Mr. Water Geek)


