All the Details on How to De-Winterize Your RV Water System

After a long winter ( or just a long time ) spent in storage, it’s time to get your RV ready for the excitement of the upcoming camping season. Just as winterizing was necessary to protect your water systems from cold weather damage, de-winterizing is equally important. A thorough de-winterizing process helps ensure your RV’s water supply will be in good working order throughout the spring and summer adventures ahead.
Leaving water systems inactive for months can lead to issues if not properly reactivated. De-winterizing flushes out antifreeze, sanitizes tanks and lines, and inspects for any issues developed during the off-season. This keeps water running smoothly and keeps equipment in top shape.
Today, I will cover the full step-by-step de-winterizing procedure to have your RV water system in great condition for camping. Following the guidelines carefully prepares your supply for reliable, hassle-free performance on every trip. Let’s get started with the first steps to get your RV back in action!

How To De-Winterize Your RV Water System: Step-By-Step Guide
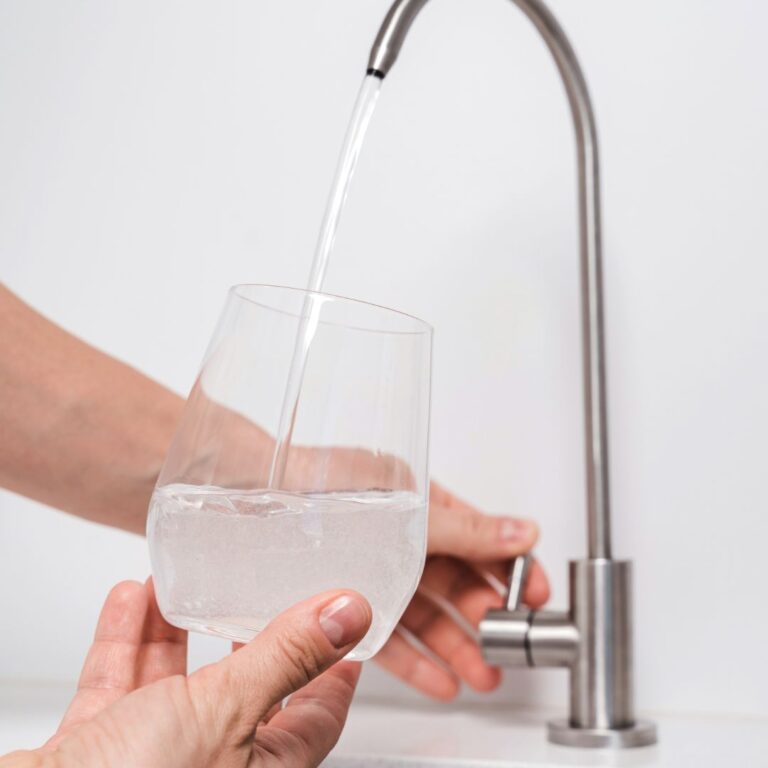
De-winterizing your RV water system is a multi-step process that involves flushing out antifreeze, sanitizing fresh water tanks and lines, refilling water tanks with potable water, checking for leaks, and more. Follow these steps carefully to thoroughly prepare your RV water system for use:
Step 1: Inspect Your RV Water System
Before beginning the de-winterizing process, take some time to inspect your entire RV water system. Check all water lines, faucets, taps, connections, and holding tanks for any leaks, cracks, or other issues that may have developed over the winter. This is also a good time to check your RV water filter to know if it needs to be cleaned. Then, read my post on How to Clean RV Water Filter for more information. Catching any problems early will save you headaches down the road, trust me!
Step 2: Drain and Flush Antifreeze from Water Lines
With your RV parked and level, locate the antifreeze drain valves for your fresh water lines and holding tanks. Drain all residual antifreeze from the lines, water heater tank, and holding tanks. Be sure to use protective gloves and goggles, as antifreeze is toxic. Once drained, attach a hose to your city water connection and fully flush fresh water lines and hot water tank with potable water.
Step 3: Sanitize Your Fresh Water Tank Holds
To sanitize your fresh water tank and kill any bacteria or microbes, mix one part unscented household bleach for every 15 gallons of water that your fresh water tank holds. Pour the bleach mixture into the fresh water tank and swish it around to coat all surfaces. Then, fill the fresh water tank with potable water from your city water hookup and swish again.
Step 4: Flush Water Lines and Tanks
Turn on your water pump to circulate the bleach solution through all fresh water lines, hot water tank, and plumbing system like taps, showers, and toilets. Open each faucet one by one and let the bleach water run through until you no longer smell the bleach. This helps sanitize your entire water system. Let the solution sit overnight if possible before proceeding.
Step 5: Flush Out Bleach Solution
In the morning, it’s time to flush out all traces of the bleach sanitizing solution. Attach your city water hose to run the fresh water tank with potable water through all fixtures, lines, and tanks until you no longer smell any bleach at all. This usually takes several minutes of flushing at each tap or shower. Now, your water system is fully sanitized and ready for use.

Step 6: Refill Fresh Water Tanks
Once bleached water is flushed from the system, it’s time to refill your fresh water tanks with clean potable water. Fill up both of your fresh water tanks, then check all your lines and fixtures one more time for any residual bleach odor. Top off tank levels if needed.
Step 7: Check Water Connections and Tighten if Needed
Inspect all fittings and connections in your water system, including those on the fresh water tank, water lines, water heater, and elsewhere. Tighten any fittings that feel loose to prevent leaks. This is also a good time to check your water filter housing and replace the filter if needed.
Step 8: Check for and Repair Any Leaks
Now, turn on your water pump to pressurize your entire water system. Inspect all areas thoroughly for any leaks at connections, fittings, holding tank valves or elsewhere. Tighten or repair as needed right away to prevent water damage. A small leak can quickly turn into a major problem if not addressed.
Step 9: Test Water Pressure and Fixtures
With your lines pressurized, check that water pressure reads within normal parameters according to your RV specs. Test each tap, shower, and fixture to ensure water flows properly and there are no leaks or clogs. This is the ideal time to fix any issues before your first camping trip.
Step 10: Check and Fill Water Heater
With antifreeze drained and water lines flushed, it’s time to refill your RV hot water heater tank. Remove the drain plug and check the anode rod for wear before refilling. Then, carefully fill the tank with fresh potable water and replace the drain plug when full. Check fluid levels in the water heater as well.
When Can You De-Winterize Your RV Water System?
There is no single set time when all RVers de-winterize their water systems. The best guidance is to wait until after the last expected spring frost date for your area. This helps ensure that any outdoor work or testing done during the de-winterizing process won’t risk exposing water lines to freezing temperatures.
As a general rule of thumb, most RV owners fully de-winterize their water systems in early spring, before the last predicted frost date in their area. This usually falls in late March through early May depending on the region. Waiting until after the final frost ensures water lines won’t freeze if you need to do any outdoor work or testing. However, you can do the initial inspection and de-winterizing prep steps earlier if weather permits.
Paying attention to the extended weather outlook is wise. De-winterizing a few weeks past your area’s average last frost date helps provide a good buffer. You can also check with local RV shops and parks for advice on when they’ve found to be reliably safe window in previous years
How Long Does it Take to De-Winterize a RV Water System?
The time required to fully de-winterize an RV water system can vary depending on the specific size and complexity of the setup. However, most owners should plan to spend 2-4 hours to complete the entire process correctly.
Simple RVs with a single freshwater tank may take closer to 2 hours if no issues arise. Larger 5th wheel or motorhome systems may take up to 4 hours due to having more water lines, additional tanks, and other features. Stopping to troubleshoot any problems found could also extend the timeline.
Be sure to properly block out a half day to complete all de-winterizing steps safely and thoroughly. Rushing through important tasks like sanitizing lines increases the risks of water quality issues down the road. Taking the time to inspect connections and test everything ensures your system is ready for reliable use throughout the camping season.
How Much Does it Cost to De-Winterize an RV Water System?
For most RVers, the average out-of-pocket costs to de-winterize an RV water system range from $30-75 depending on supplies needed.
Common recurring supply expenses include items like bleach for sanitizing (around $5), new water filters ($15-30 depending on size), and any minor parts to address small issues. Many owners are also able to complete the entire process using items already in their RV storage kit.
However, if major repairs are uncovered like burst pipes, faulty water pumps, or extensive leak damage, costs could exceed the $150-300 range. Having a full-time RV repair shop address complex problems drives prices higher.
As a general guide, budget $150-300 total if de-winterizing yourself. This provides a reasonable cushion in case small fixes are needed beyond standard supplies. Only larger repairs requiring professional assistance would exceed that amount. Planning for contingencies makes any surprises more affordable.

What to do if Your Bathroom Faucet Doesn’t Work After De-winterizing RV:
It’s not uncommon for small issues to crop up after de-winterizing an RV water system that’s been inactive for months. If your bathroom faucet isn’t working properly, start by checking these common trouble areas:
- Inspect supply lines for kinks or splits that prevent water flow
- Remove and clean aerator screen which may be clogged with mineral deposits
- Check for buildup of mineral deposits inside faucet valves preventing movement
- Tighten any loose connections at valves or supply lines where water may be leaking out
- Test and replace faulty cartridges inside single-handle faucets if needed
- Flush toilet and check for debris stuck under flapper preventing it from sealing
With a little troubleshooting, you can identify and fix minor water system glitches before hitting the road. Don’t hesitate to consult an RV plumber for stubborn problems.
Additional De-Winterizing Tips:
- Check propane and electrical systems are also ready for use
- Inspect your RV tires and tire pressures
- Test batteries, fluid levels, brakes and other vehicle systems
- Sanitize fresh water containers and empty black/gray water holding tanks
- Purge gas from RV water heater tank and check anodes
- Inspect roof and other exterior surfaces for winter damage
- Test smoke and carbon monoxide detectors and replace batteries
- Sanitize the sinks, showers, and toilet interiors
- Bleach small amounts of water throughout the RV water system
- Make a checklist to fully de-winterize all RV systems
Once you’ve completed all de-winterizing steps and fully tested your RV water system, refill the fresh water tank with potable water and you’ll be ready to hit the road! Be sure to allow adequate city water pressure when filling to eliminate air pockets.
De-winterizing is a breeze with the right steps.
Now, you can pull out and start making new warm weather camping memories! Be sure to keep monitoring your RV water system during your first few uses and address any final tweaks needed. Following these thorough de-winterizing steps will keep your water supply safe and suitable for enjoyment all season long.
For more information on beneficial water therapies and all things around benefits of water, stay tuned to my blog. I have quality reviews of different water purification products that you can find very beneficial. Some of the reviews you might want to check out include Aquatru Review, Aquasana Water Filter review, and so much more
I’m also always available to give recommendations, reviews, and health information around water. If you found this particular post helpful, you might want to check out my posts on How to Choose a Camping Water Filter, How to Filter Water for a Camping Trip, and Best Water Filters for Camping.
Stay hydrated,
Shashank Varma (Mr. Water Geek)